INVOICE
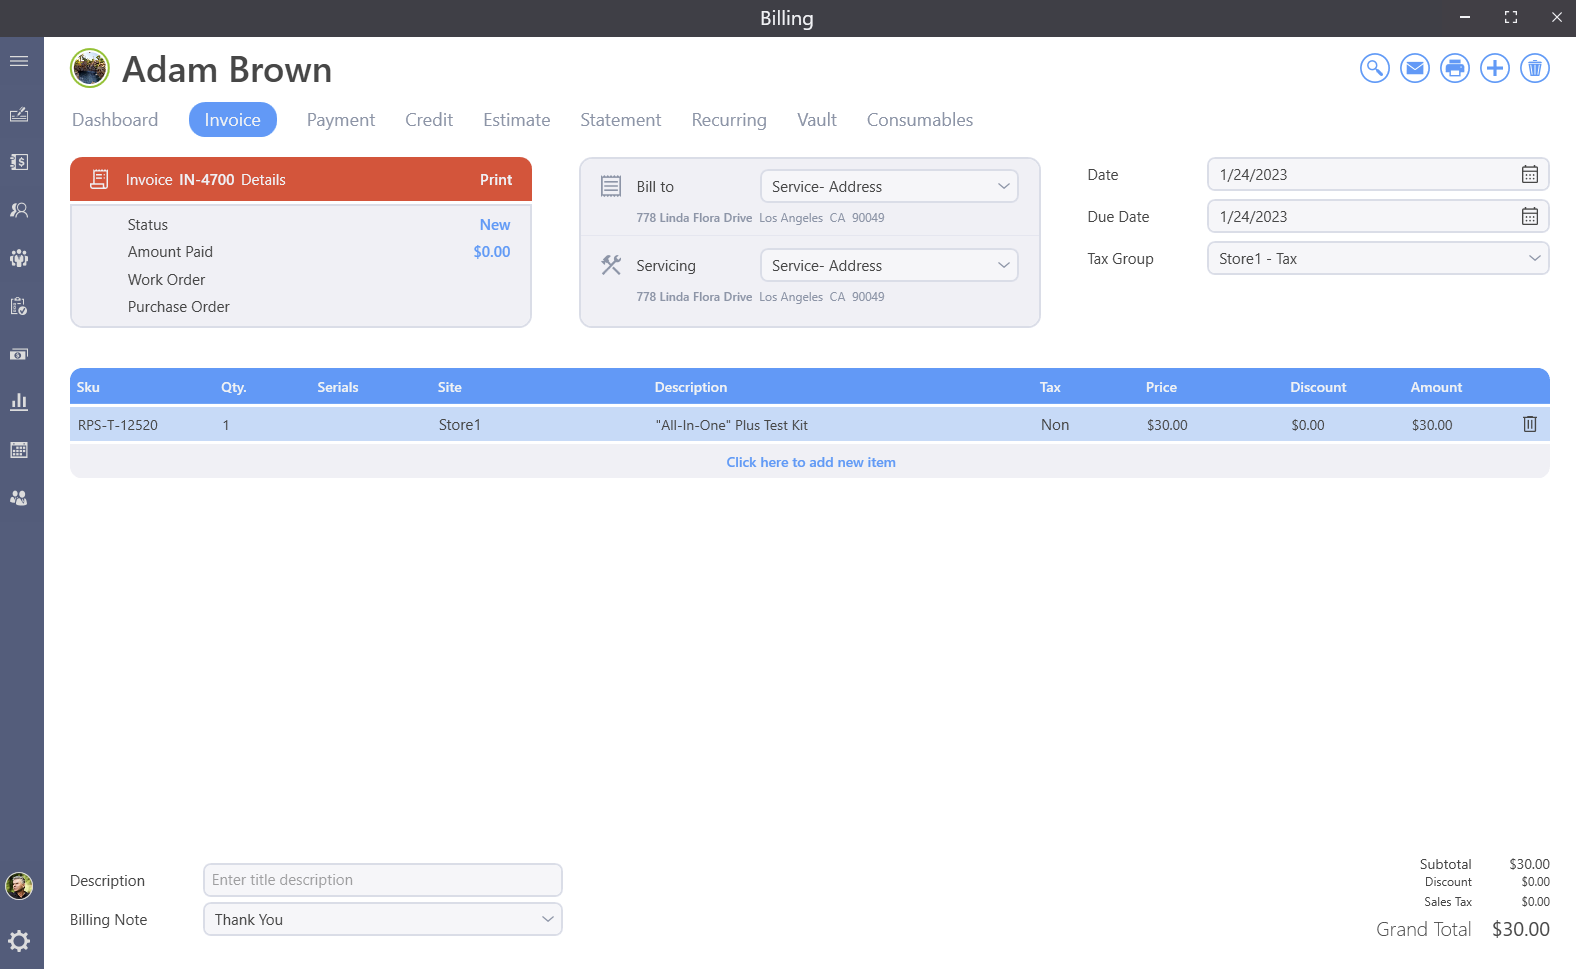
There are multiple actions that can be done for an invoice.

Search, email, print, new and delete.
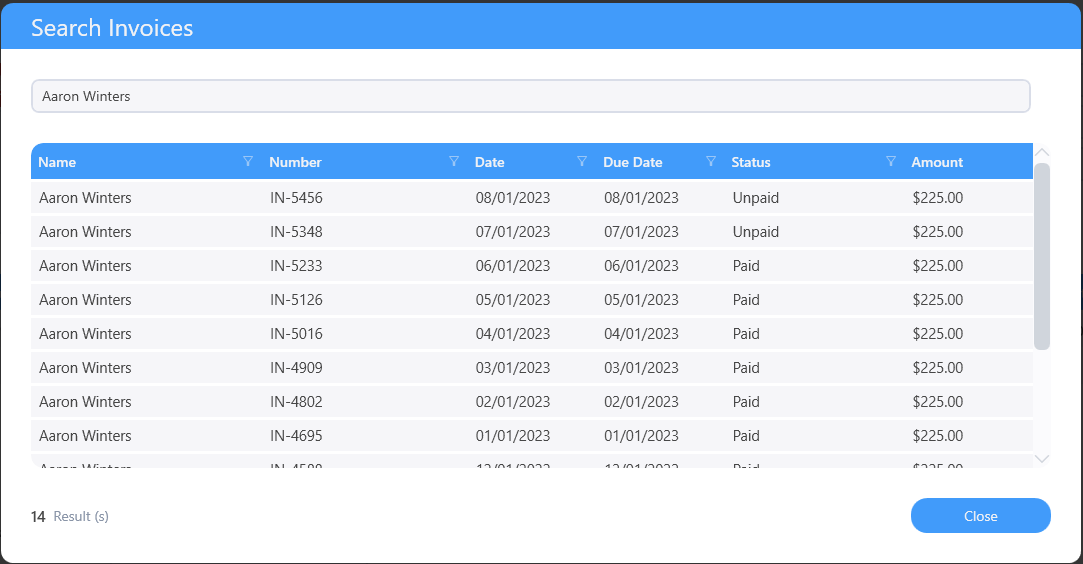
Search
Invoice search will only search though invoices opened and closed based on the customer name or invoice number.
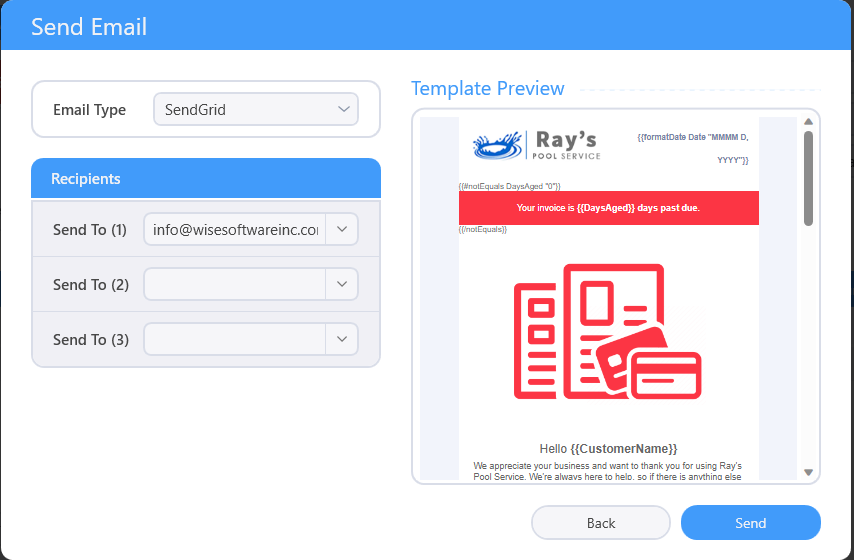
When emailing an invoice a popup will display 3 sections.
Email type - This is where you can select traditional SMTP or SendGrid.
Recipients - It will load the primary contacts email by default. Selecting the drop will allow choosing other emails if the exist. You can also manually type in an address.
Template Preview - If you have Wise Software's messaging services than SendGrid will be selected and a preview of the email template will be displayed.
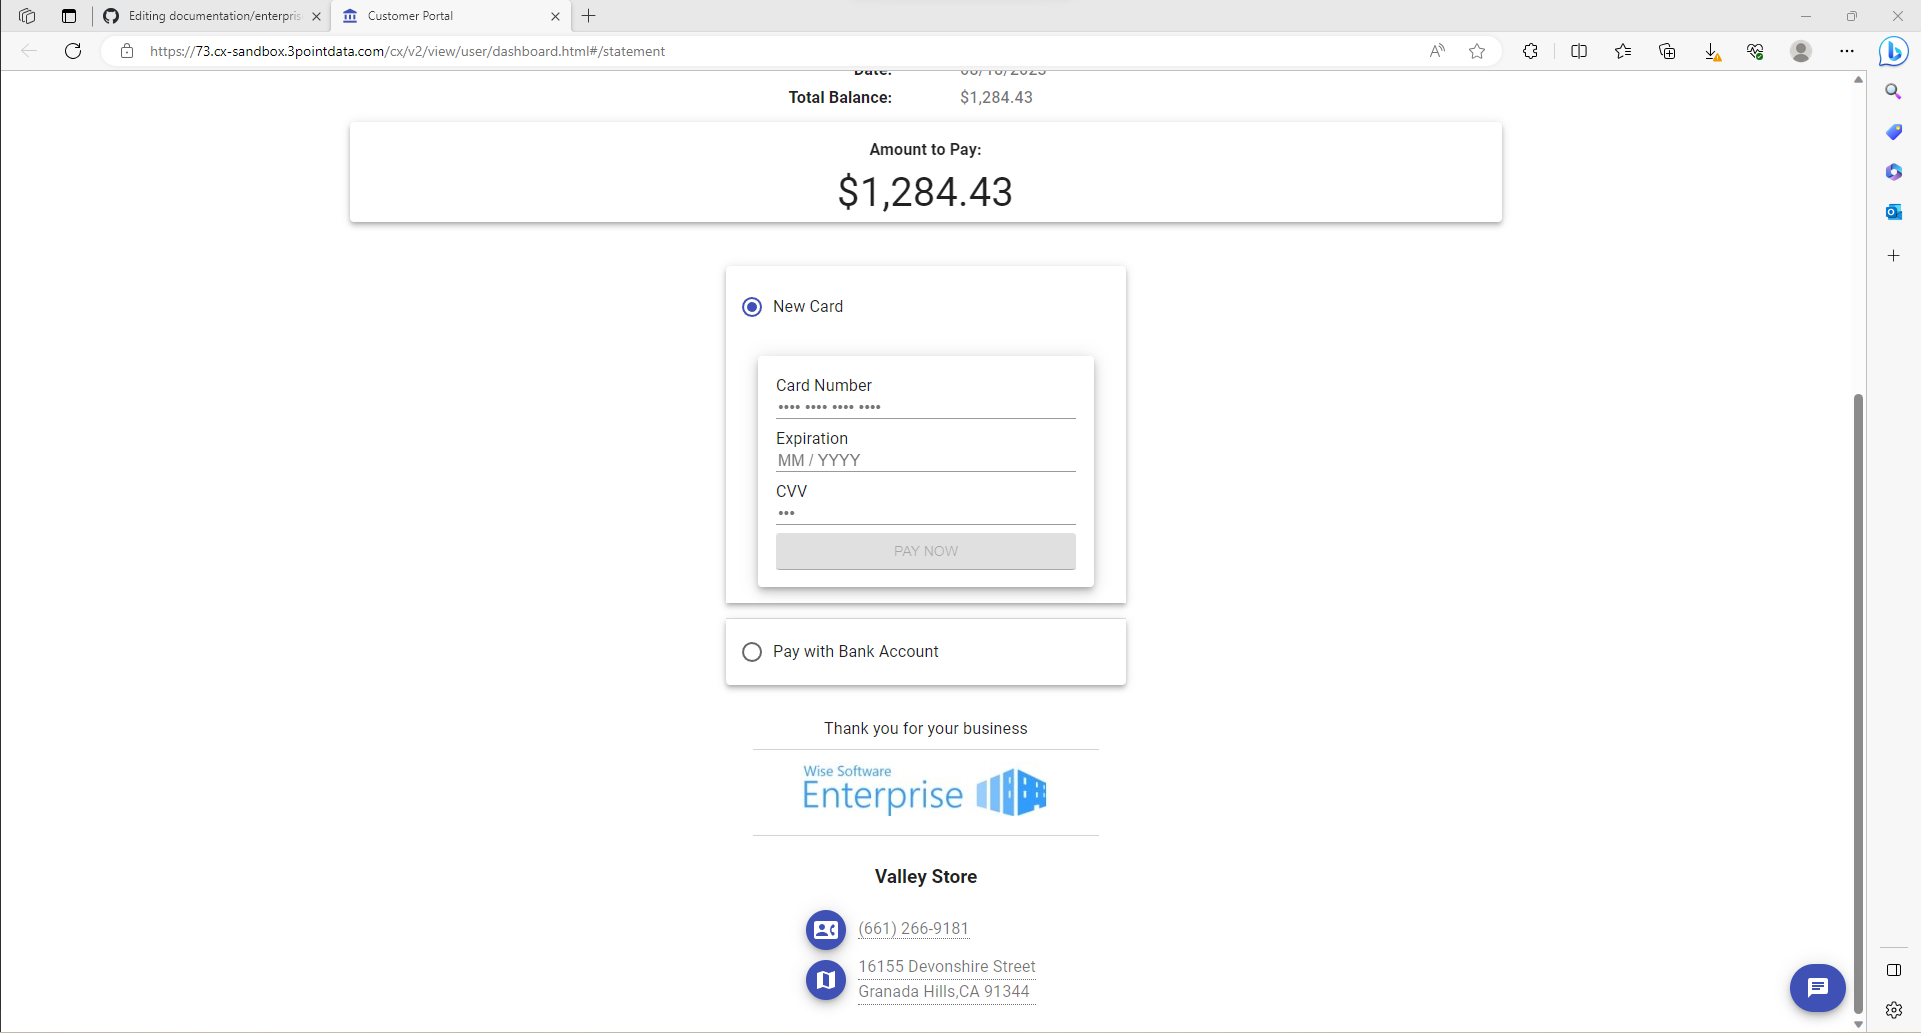
If PayNow is enabled for the customer than a link will be provided in the email allowing the customer to pay thier balance online via credit card or ACH. Note that you must have a Global Payments account to use this feature.
Add
To start a new invoice, first click on the invoice tab and then click the plus icon at the top right of the screen.

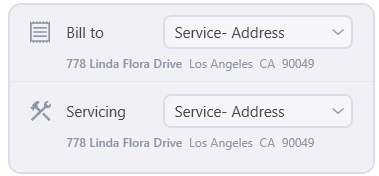
The Billing and Service address will automatically fill in with the default address of the account. Use the pull down under Billing Address to change the address this invoice will be printed or emailed to. Use the pull down under Service Address to change the address where the service on this invoice was provided.
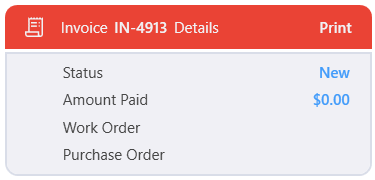
Under Details, the Status shows New until the invoice is saved for the first time and the paid status of the invoice thereafter. Unpaid, Partial, or Paid.
The billing type of the customer is shown allowing us to see how this customer prefers receiving invoices at a quick glance in the invoice details.
If an invoice is generated from a Work Order or tied to a Purchase order, they linked order number will display.
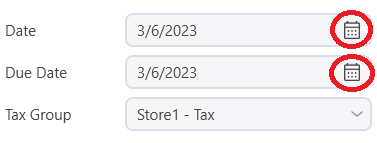
The Invoice Date and Due Date will generate based on today's date and the billing settings telling the program how far out the Due Date should be. Either of these can be changed with the date selection button to the right of each field. These dates can also be manually changed by clicking into the field and typing a date. A preview of the date being entered will display as the date is being typed and will presume the current month and year unless entered otherwise.
Items can be added to the invoice either from the inventory or manually. Click on the Click here to add a new item and the cursor will jump to the SKU column. If you enter an inventory item, inventory description, or an inventory category and press tab or enter key. The inventory list will pop up and you will be able to select from a list of inventory choices.
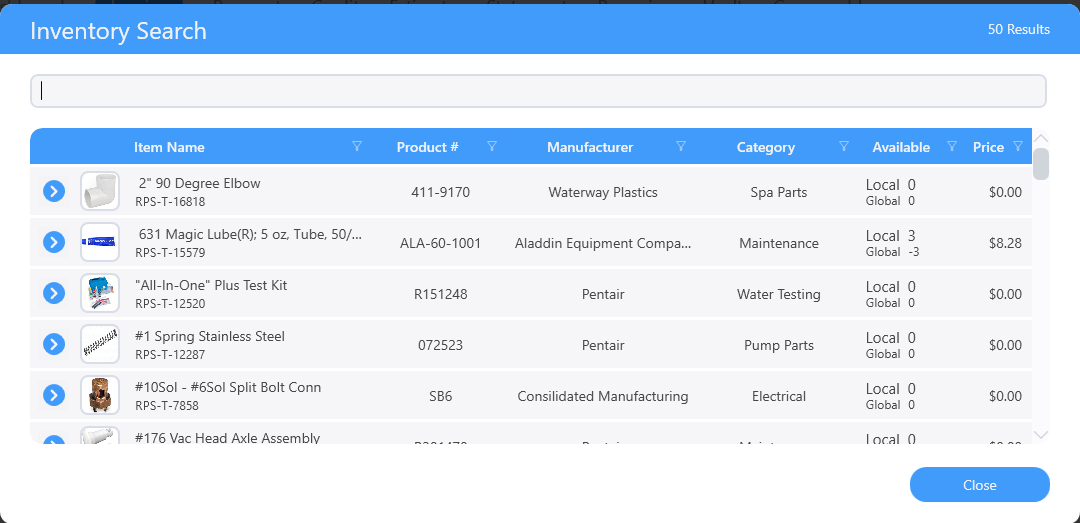
The item you select by clicking on it will fill in the line automatically from the inventory. If you used an inventory number and there is only 1 choice you invoice line will fill in for you along with the price and tax amount.
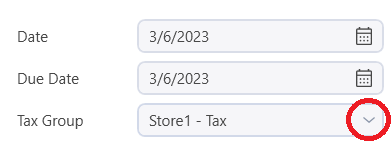
The tax rate based on the customer is displayed and can be changed via the pull down if needed for example if this sale happened outside the customer's normal tax area.
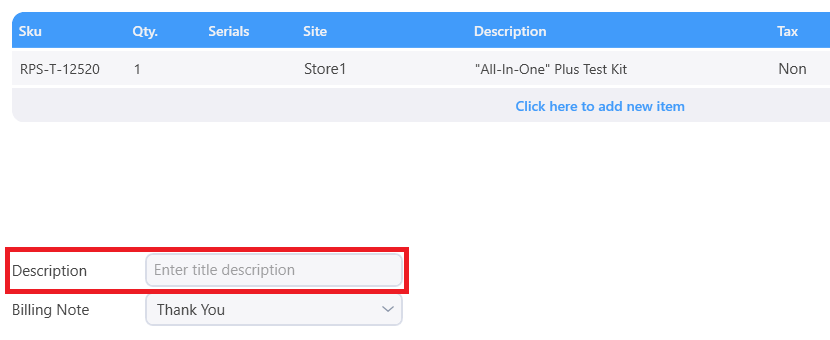
At the bottom of the invoice screen you can enter a Description of the invoice. This will display in the customer's billing history on the Billing Dashboard and can also be displayed on Statements.
Billing note
Use the billing note pull down to select a billing note to display on this invoice when output. Billing notes can be defined in the Billing Settings. (Right click and select settings)
The invoice totals display in the bottom right of the invoice screen showing the subtotal of items before tax, the amount of tax and invoice discounts, if applicable, and the grand total of all sales, taxes and discounts.
You can manually type a line description with or without a price or item number to quickly add a note or charge to an invoice but keep in mind that these items will not show on inventory sales reports. For this reason, it is recommended that all charges on invoices are entered in from inventory items.
Once an item is on the invoice you can edit the quantity of the line if multiple of the same item are to be charged. The inventory site the item was sold from defaults based on the local settings but can be updated in the Site column. The description can be edited as needed. The taxability and price of the line will default based on the inventory entry, if needed, use the pulldown to change it.

In the Price column, you can modify the per item price of this line item by manually changing the price or using the pull down to select a price level. This must first be set in the inventory with multiple prices.
And lastly in the Discount column, define a flat rate or percentage discount. The line's total will update in the Amount column as these changes are made.
Delete
Clciking the delete button will prompt for a confimation before the actual deleting. If the invoice has a payment towards it, you may not delete it until the paymet has been removed from the invoice.

Once the details of the invoice are complete, we can print the invoice from here using the print button, send it off attached to an email using the email button, or save it to a PDF using the save button.