PAYMENT
Here is where you'll process customer payments. Clicking plus icon starts the process of creating a new payment. The trash can icon button allows you to delete a payment. The magnifying glass icon allows us to search for an existing payment by reference or customer information. The checkmark icon will applies a payment once the details are filled in.

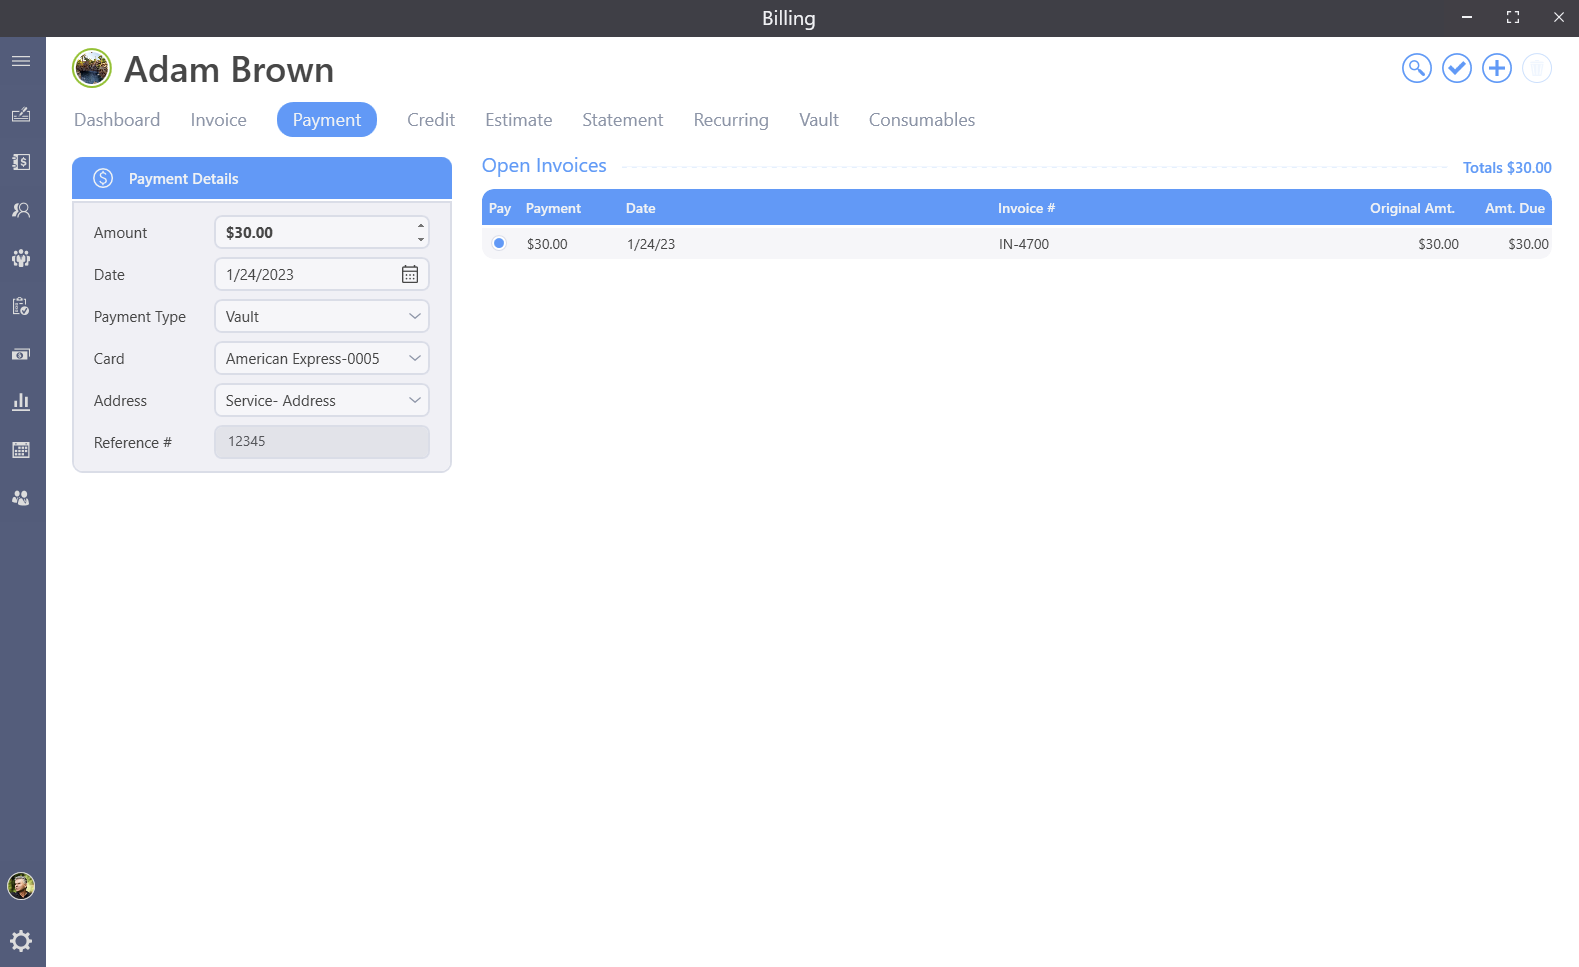
In the Open Invoices grid, The program will display any invoices that have open balances. This will include partialy paid invoices also.

The payment amount will be generated by clicking on the open invoice on the right side of the payment screen or you can manually enter an amount. Using the Amount Received box will put payment towards invoices in order of oldest first. To specify splits between invoices, use the Pay column in the Open Invoices grid.
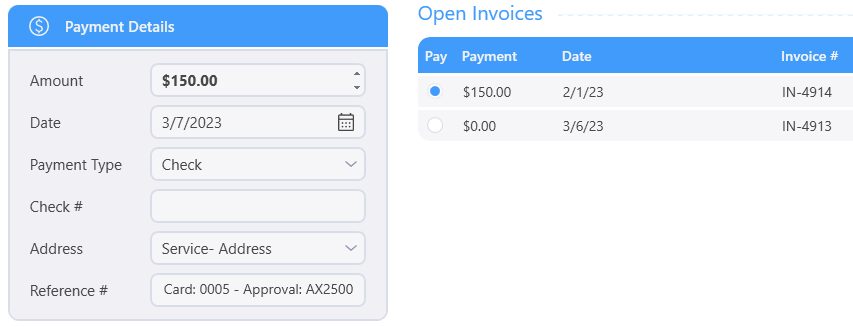
The payment Date will generate based on today's date. This can be updated with the date selection button to the right of the field. This date can also be manually changed by clicking into the field and typing a date. A preview of the date being entered will display as the date is being typed and will presume the current month and year unless entered otherwise
The payment type will default to the type set in Billing settings. Use the pull down to select the type of payment if needed. The available payment types are
- Cash

- Check

- Credit

- Debit Card

- Processor

- Electronic Check

- Vault

- Gift Card
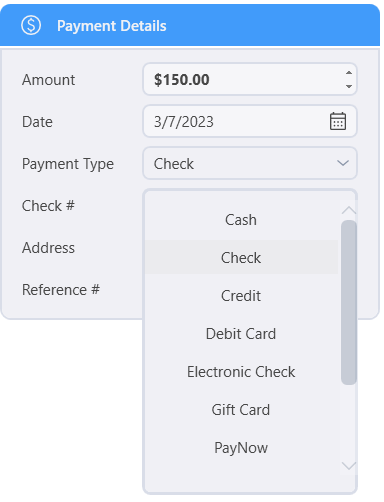
If you have credit card processing set up, Processor and Vault(only show if there is a card on file) will be options also.
Some payment types will display additional options when selected such as a check number field for checks and a Vault Card selection for Vault payments.
The customer's default billing address will be selected in the address field. Use the pull down to select a difference location if this payment is to be associated with a different address.
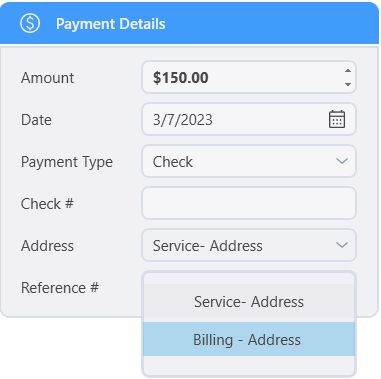
Reference information can be placed in the Reference # field. Note that this field is not required.
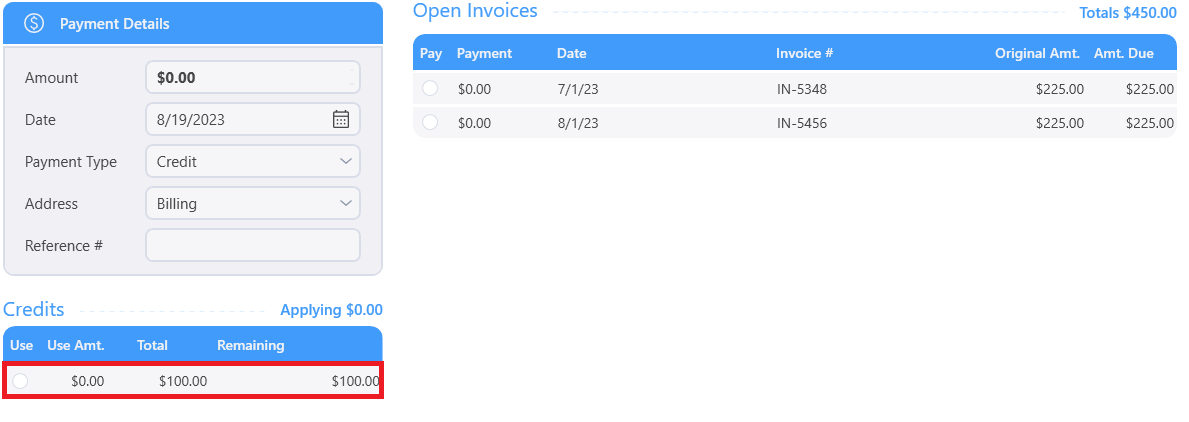
The Credit list will appear if you select credit from the drop down list
This is where you can add a credit to an invoice.
Once all the details of our payment are filled in, we click the checkmark button in the upper right hand side of the payment screen and the payment is applied. Paid items will disappear from the payment screen
Credit Cards
Lets enter a credit card payment paying for a specific invoice
Click on the plus icon to start the process of processing a card payment for the currently selected customer.
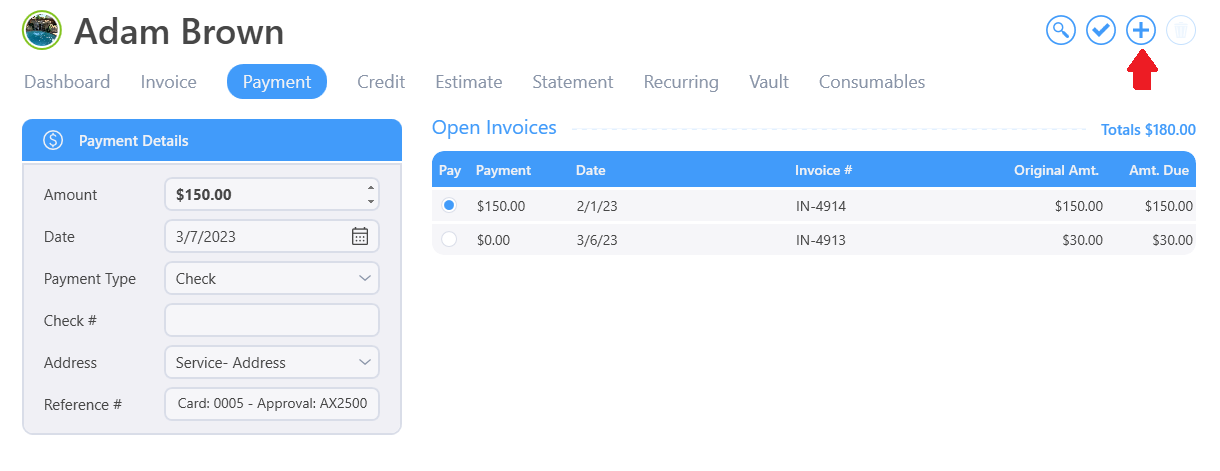
Change the payment date as needed
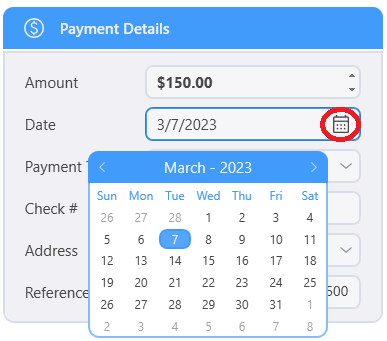
Use the pull down to select the address drop down if this payment is to be associated with a different address than the customer's default billing address. If the customer's card billing address is different from their default billing address in the program, the card billing address should be saved to the customer's locations so it can be selected here.
(Note only when signed up for credit cards)
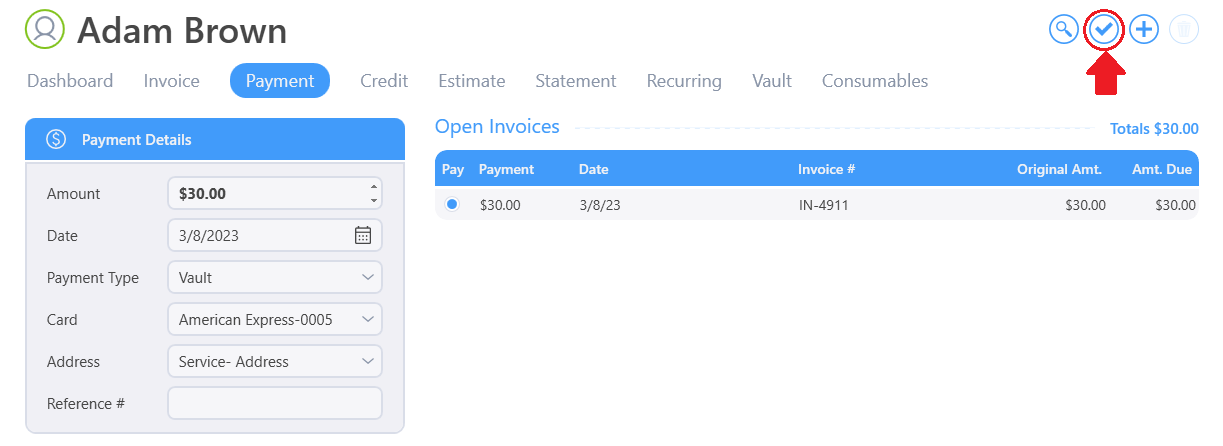
Selecting the Payment type of Vault will bring up a selection box containing the cards stored for the currently selected customer. The customer's default card is selected. Use the pull down to select a different card if needed.
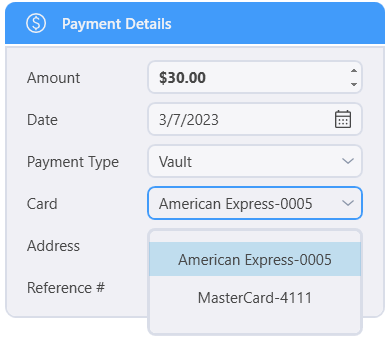
(Note only when signed up for credit cards)
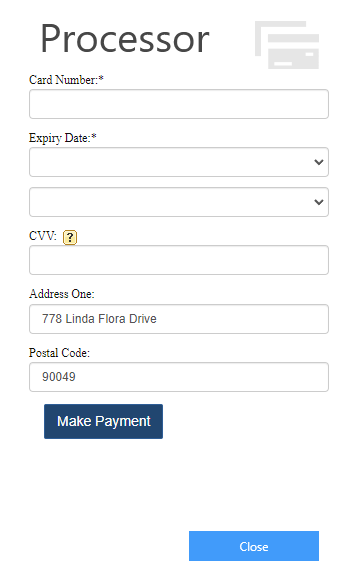
Selecting the Payment Type of Processor will set us up to enter credit card information manually or process the payment through a point of sale device depending on our current settings.
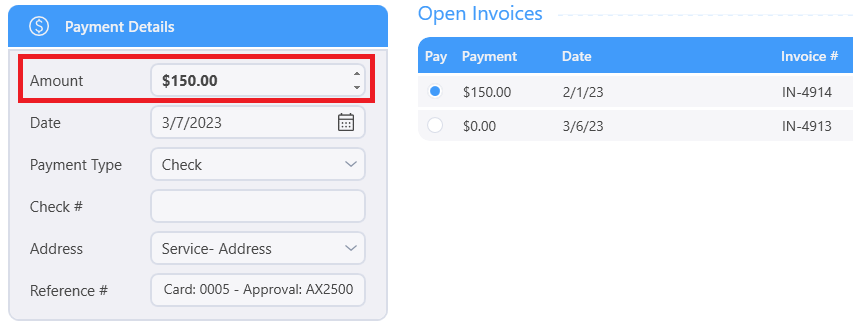
In the Open Invoices grid, The program will display any invoices that have open balances. Clicking on an invoice will automatically fill in the due amount into the payment field. If needed we can edit the Payment field to customize how much of the payment goes to any of the invoices. As payment amounts are filled in, the total of the payment will automatically update in the Amount Received box above.
Once all the details of our credit card payment are filled in, we click the checkmark button in the upper right corner of the payments screen. If we are running a vault payment, the selected card will be processed and the payment saved to the system. If we are running a Processor payment, the form to enter the card information comes up or the point of sale device will take over to process the card.
Check / Cash
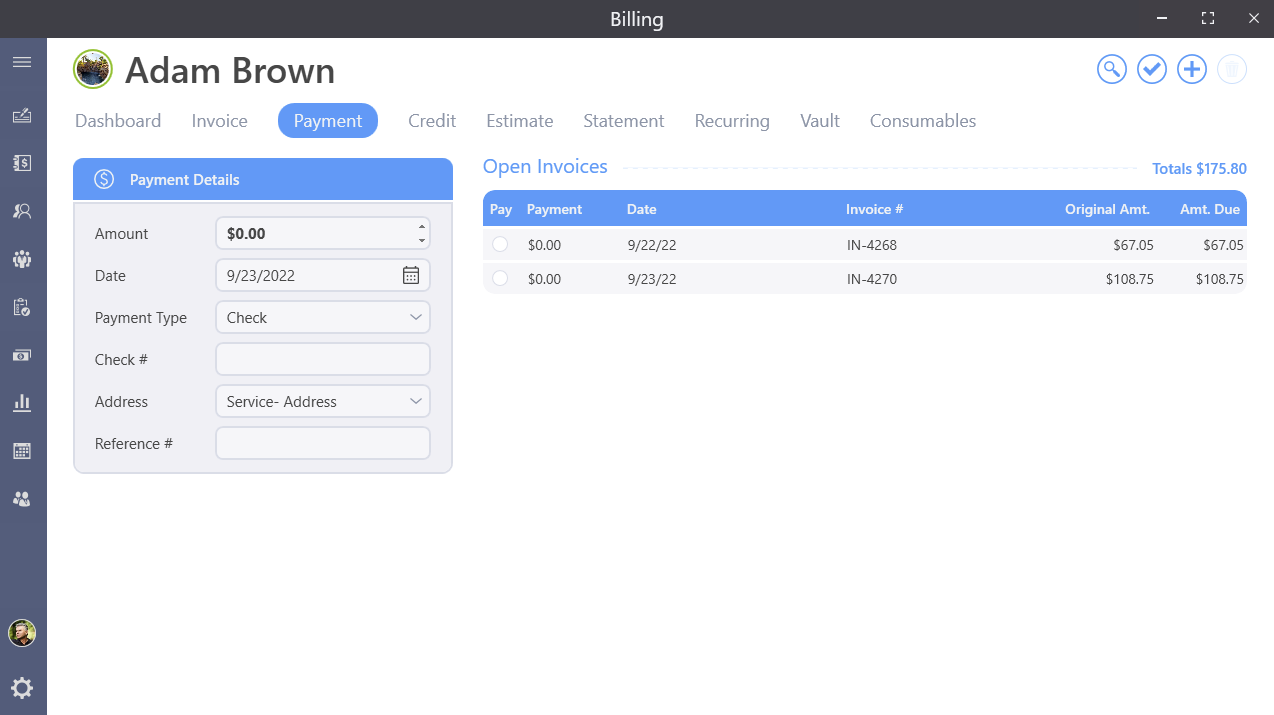
From the Billing screen, click the Payment Tab.

Click on the plus icon at the top right to start the process of adding a payment to the currently selected customer.

Update the Payment Date as needed. Click the calendar icon to the right of the field or manually type in the date.
If necessary, use the Address pull down to change the address this payment will be applied to.
Reference information can be placed in the Reference # field. Note that this field is not required.
Use the Payment Type pull down to select the payment method. You may select Cash, Check, Credit, Debit Card, Electronic Check, Gift Card, PayNow, Reward Points, Processor, and Vault.
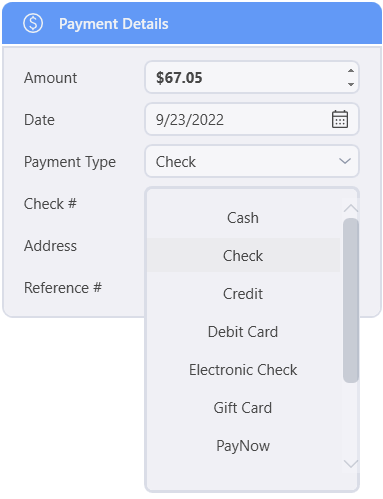
In this example, the customer will be using a check to pay, so we select the Check option. Enter the Check #
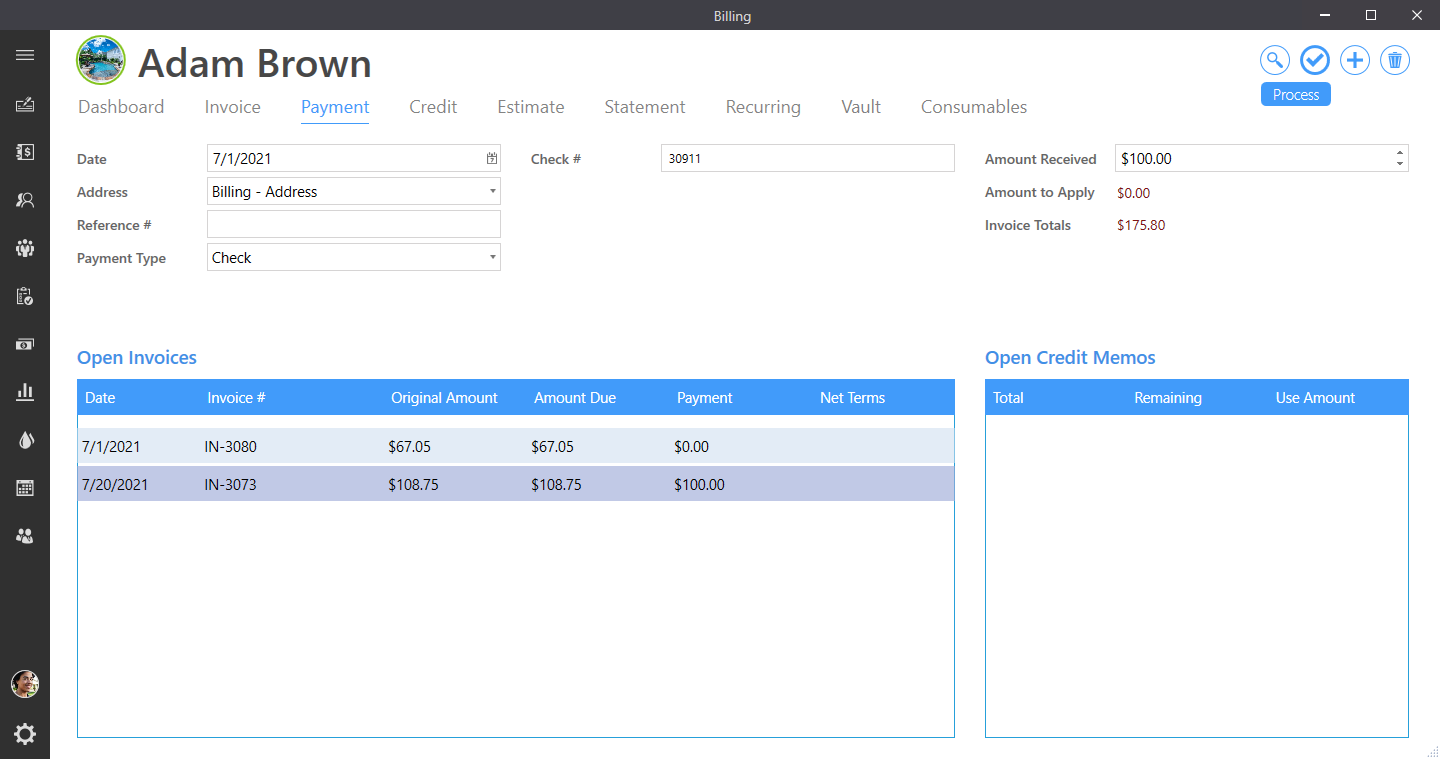
Enter the amount of the check in the Amount Received box and press tab.
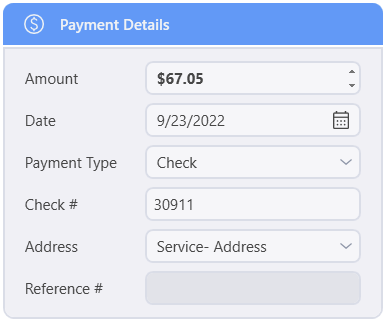
This will fill in the Payment column in the Open Invoices grid in order of oldest first.

Click the Process quick action button to apply the payment

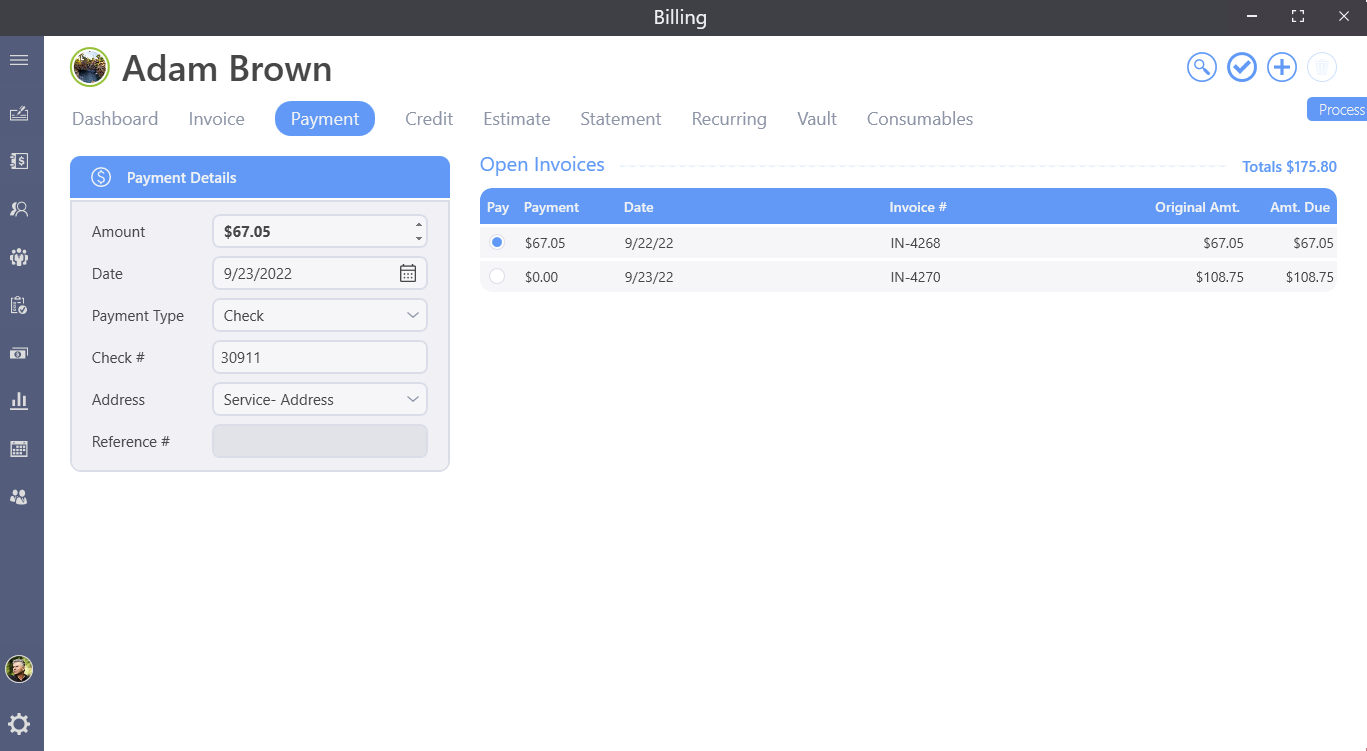
Click the Process quick action button to apply the payment

Credit
Selecting credit will display any remaining credits in the lower left. Either select use which will attempt to use the remaining balance or type in a specfic amount in the use amount column. If the credit amount is greater than the invoice(s) total than only that will be used. Credits apply to the oldest invoice first.
